What I got for Christmas!

Hey guys, so as you all know it's Christmas, the time to celebrate and exchange presents and since I am away from my family who are in London, i couldn't get them anything and to my surprise i got some presents from them. I feel a little guilty for not getting them anything. Anyway... I absolutely love them. So here they are:

                                    
 SoulCal Acid Wash Hot-pants                             SoulCal Love T Shirt


SoulCal Vintage Crop T Shirt                                  AX Paris 32 Crop Top


Hollister Woman T Shirt                                          Union Jack Pen Set


Union Jack Pencils
                                         Vintage Union Jack Notebook


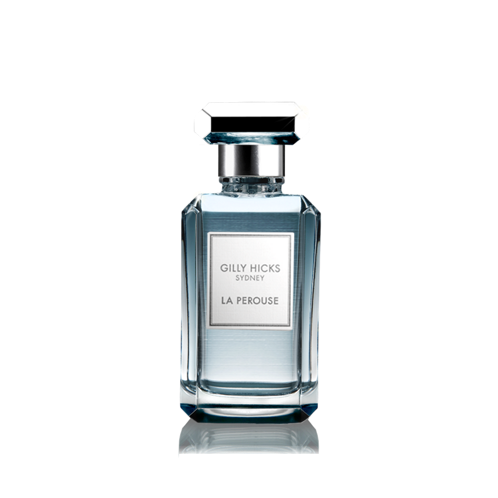
Gilly Hicks La Perouse Perfume                     Gilly Hicks Lip Gloss


I can't give you the prices as they were taken off. I got quite a few Union Jack items to remind me of home and of course my favourite fragrance La Perouse from Gilly Hicks. Most of the clothes are from SoulCal which i found on this site and there are quite some nice stuff so be sure to check it out!
So what did you get for Christmas, i'd love to know. Leave a comment in the comment area below!

Merry Christmas!

DIY Nail Photo Transfer

DIY Nail Photo Transfer:


What you'll need:

- Printer
- Base Coat
- Top Coat
- 10 pictures

How to do it:

1. Apply a base coat on your nails.


2. Select the pictures you want. To do so, I chose 10 photos of cats ( because i''m a cat lover) and put it in a folder. 


3. Then I opened them up in a Word Document to re-size them so that they fit the size of my nails.


4. Print them out and cut out just the heads of the cats. ( poor cats)

5. Glue them to your nails using the top coat. Let dry.

6. Apply another layer of top coat to conceal it but make sure not to put too much or the ink will bleed.


That is all!

Enjoy!

Oh and...

May your days be Merry and Bright
And May all your Christmases be White!
Merry Christmas!

DIY Felt Donut

DIY Felt Donut:


What you'll need:

- Felt
- Beads
- Thread
- Needle
- Donut Template
- Free formed Frosting Shape
- Stuffing ( I used cotton balls)
- Key Chain (optional)


How to do it:

1. Trace and cut out two matching donut shapes and cut one free form frosting shape.

2. Pin the frosting on one of the donut shapes.


3. Straight stitch all around the frosting.

4. Stack both of the donut shapes together and stitch through all three layers of the donut hole.
Add some beads.


5. Stitch all around the donut going through both donut layer. Leave a few inches open to add in the stuffing (cotton). 
You can choose to add the key chain.


That's it! Doesn't it look delicious! I think i'm gonna get me some donuts!


Enjoy!

Eye Reflection with Photoshop

Eye Reflection with Photoshop:

In this tutorial, i'll be using Adobe Photoshop CS5. I will be showing you how to add a reflection in the eye.

What you'll need:

- Photoshop
- picture of an eye
- another picture which will be the reflection ( I chose the earth)

How to do it:

1. Open up Photoshop. Click on File and Open your eye picture.


2. Open another picture. I chose the earth. This picture will be the reflection you put in your eye.


3. Where there is your brush tool, right click it and change it to color replacement tool


4. Paint the eye in black. It should look like this:


5. Go back to your other picture (earth picture) and go around it with your lasso tool. It doesn't have to be perfect.


6. Drag what you have selected back to the eye picture. Go to Edit, Transform and then click Scale. Scale it to about the same size as the iris. 


7. Now on the right side, where you can find the Layers. Change Normal to Overlay.


It should look like this:


9. Now with the eraser tool, get rid of the parts that overlap.


10. Now go back to your Brush Tool, Select Black and color in the pupil so that it stands out. 


And that's it!

Here are some other examples:


Enjoy!

DIY Cat Nails Decals

DIY Cat Nails Decals:

Cat nail decal tutorial DIY

What you'll need:

Nail polish
- Anti-chip top coat
- Scissors
- Printable rub-on transfer paper
- Tweezers (optional)


How to do it:

1. Create your cat face designs in a photo editing program. Measure your nails and re-size cat images so the faces will fit on your nails. Or just download mine:


2. Paint your nails in a couple of coats of a light, neutral color. Let dry completely.

Cat nail decal tutorial DIY

3. Print your cat faces on the matte side of the transfer film. I printed mine as close to the edge as possible, so I would use as little film as possible.


Cat nail decal tutorial DIY


4. Cut out a piece of the transfer film with all of your designs on it. Cut a piece of the adhesive film slightly larger.

Cat nail decal tutorial DIY

5. Cut out the designs, trimming as close as possible to the printed areas. You now have your own transfers!

Cat nail decal tutorial DIY

6.  To apply your transfers to your nails, peel off the clear adhesive film and carefully place face-down on your nail. It will be sticky, so try to position it where you want it before you let it touch your nail. I was able to carefully re-position my transfers as long as I didn't press down on them.

Cat nail decal tutorial DIY

7. Gently rub the top of the design, which is the shiny side of the transfer film, to help bond the design to your nail. Leave it for several minutes then peel it off. You may need to use the tweezers.

Cat nail decal tutorial DIY

Cat nail decal tutorial DIY

8. Repeat for all ten nails, then apply top coat.

Cat nail decal tutorial DIY

Voila!

Aren't they Purr-fect!

Cat nail decal tutorial DIY

Even the cat seems to like it!

Enjoy!

http://transientexpression.com/diy-cat-nail-decals/
Shop SheIn for the latest in Fall and Winter Fashions