Printable Popcorn Poppers:
Christmas is tomorrow! What better to celebrate than with these printable popcorn poppers which I found at ohhappyday.com.

What you'll need:
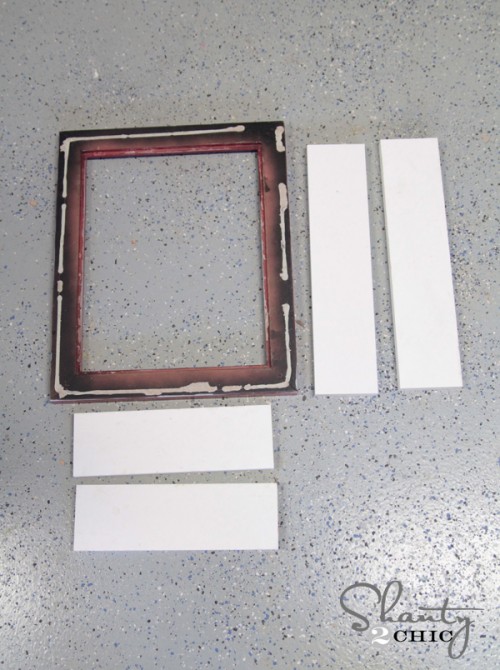
- 3 pieces of 8.5 x 11 colorful card stock
- 1 piece 8.5 x 11 white card stock (for tags)
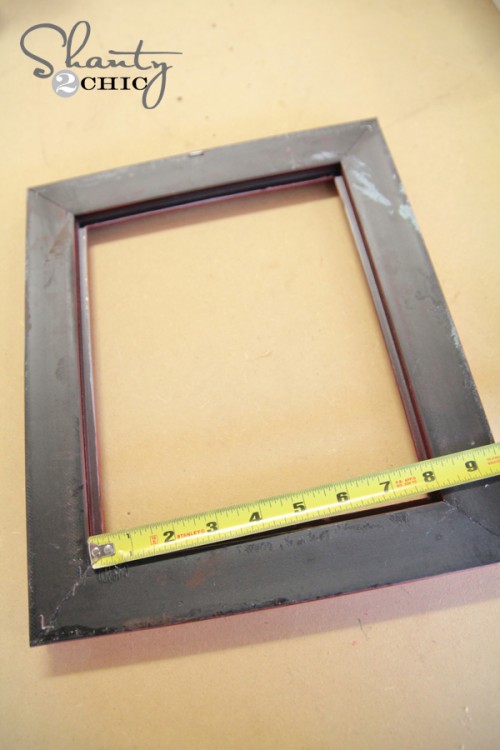
- ruler
- scissors
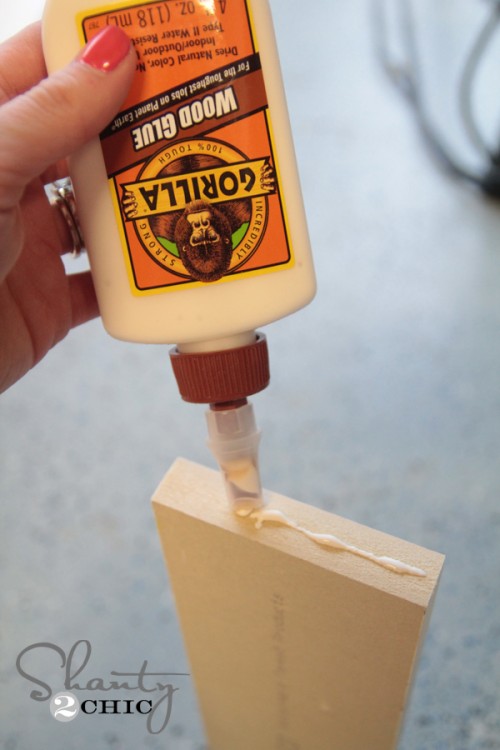
- glue (not pictured)
- screw punch or hole punch
- string
How to do it:
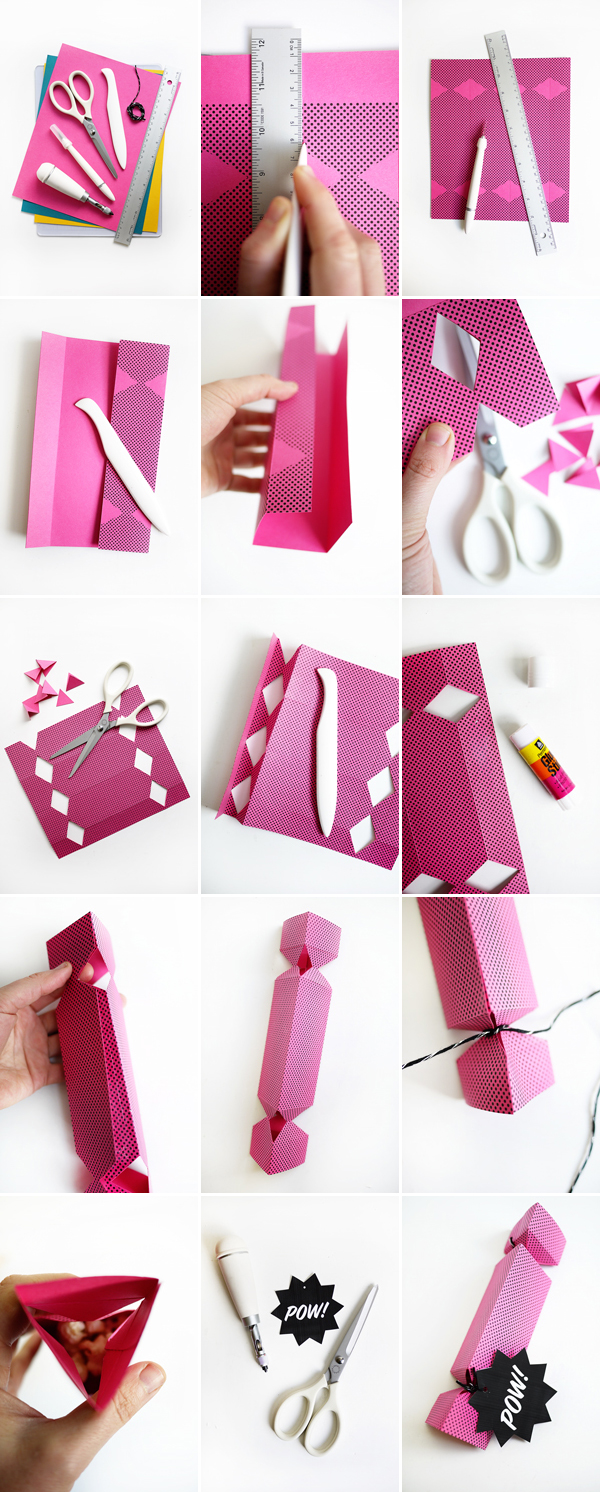
1. Print out the Printable Popcorn Poppers on 8.5 x 11 colorful card stock.
2. With the bone folder, score all indicated fold lines on the popper. The score lines will go through the center of the triangle shapes and then perpendicular above & below the triangles (see template).
3. Using the craft knife, cut out the popper template.
4. Fold all of the scored lines on the popper using the bone folder.
5. Cut out the triangle shapes by folding each side and cutting with scissors (see photo for detail).
6. Use bone folder again to fold the scored lines that are above and below the triangles. These will be the ends of the popper.
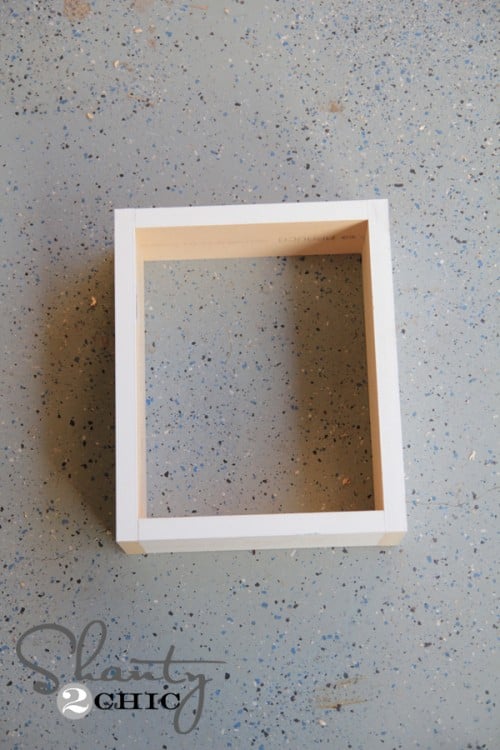
7. Glue the small flap and assemble the triangle shape popper by pressing the small flap under the large flap. Allow glue to dry.
8. Once the popper has dried, press the triangle cut-outs inward and tie off one side with pretty string or ribbon.
9. Stuff your popper with popcorn! Cut out one of the “pop” tags and punch a hole in the top using the screw punch or hole punch.
10. Tie off the popper some with the tag and string.
Done!


Enjoy!


.jpg)


.jpg)
.jpg)


.jpg)